

Nintendo Switch: From Box to Play
April 4, 2017
While I have been extensively playing the newly released Nintendo Switch and have enough information to form an opinion, that is not my focus. My focus on this article is a review on the process of assembling the Nintendo Switch with a few good pointers for anyone who was lucky enough to obtain a Switch.
Starting from the beginning, the box that the Switch was in was very quick and simple to open. Take out the slits and lift the top and you will see all your accessories. I recommend assembling the charging dock first so it can be ready for when you want to charge your new Switch. Building the dock was a cinch as only two cords are required for the Switch. An AC adaptor for charging, and a high-speed HDMI cord which were both included with the Switch.
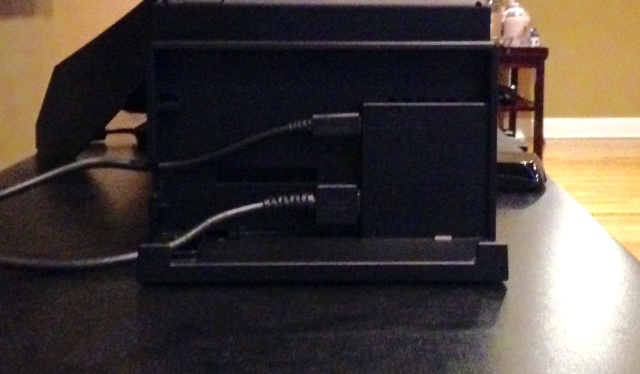
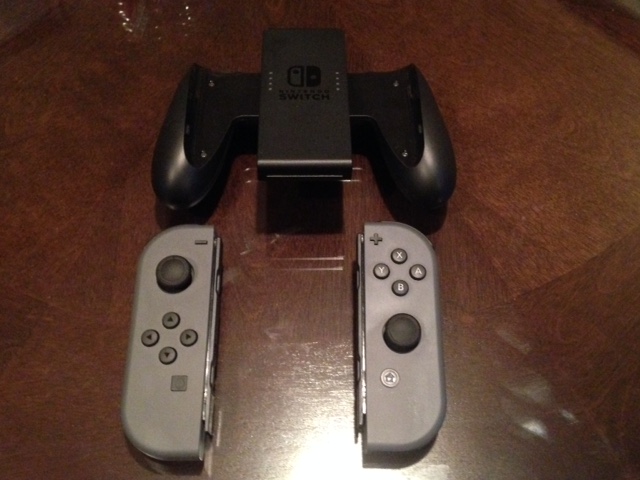
After assembling the dock, I then proceeded to start up the console itself. I put the console in the dock which was very easy to do and I started to attach the joy-cons onto the joy-con grip. At first, I had a problem with attaching the joy cons to the grip. They weren’t attaching and I didn’t understand how they would connect. The box didn’t come with any instructions on how to attach this so I was confused. I then realized you had to connect from the top and slide down to attach them.
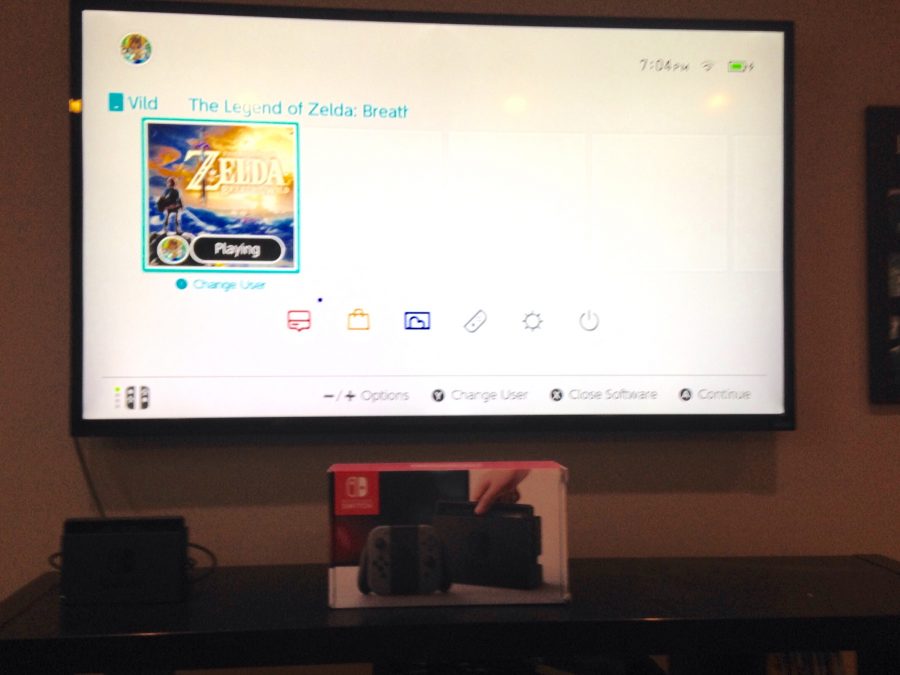
I then finally turned the console on and went through the process. It started with the necessities like region, time-zone, and internet. I then had to create a Nintendo account for the Switch. They give you the option of using a previous account if you owned a Wii U or 3DS, or creating a new account. I chose to make a new account and the process was very easy. Finally, after finishing the account the Switch was fully up and ready and I could start playing some games (only one for now).
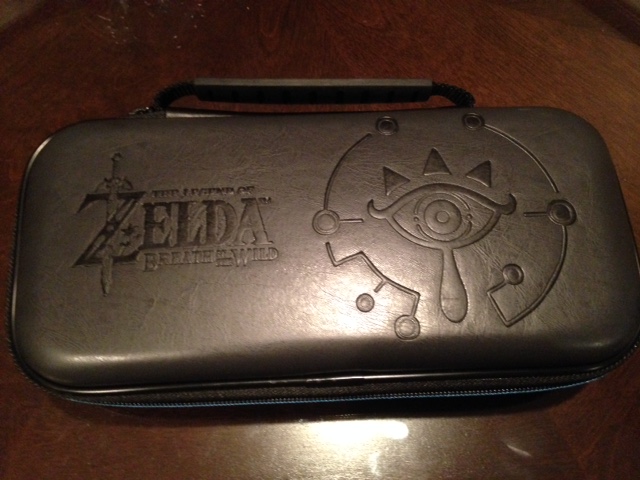
Before concluding, I would also like to recommend a couple of things. First it is important to have a case to hold the Switch in. If you’re anything like me, you will be using the handheld form of the console a lot whether it be on long car rides, planes or out in general. A case will help you easily carry the Switch from place to place.
The other thing I would recommend is a micro SD card. Like the consoles before it, the Switch has a small amount of memory with 32 gigabytes of internal memory. If you are going to purchase your games digitally on the Nintendo e-shop, you will need one to have more memory.
In conclusion, The Nintendo Switch was very easy to get together. The process only took me around 15-20 minutes and I could start playing The Legend of Zelda: Breath of the Wild very quickly. Overall, I give the Nintendo Switch starting process a 4.75 out of 5 stars.